Trustie (确实)是一个以大众化协同开发、开放式资源共享、持续性可信评估为核心机理,面向高校创新实践的在线协作平台。
特性
-
软件创作与生产深度融合的软件开发环境体系结构 软件自由创作和工程生产的高效衔接,适于软件开发中群体智慧的有效汇聚。
-
构件化协同开发环境的可扩展运行框架多样化工具的集成和联动,形成了强动态扩展能力的平台框架。
-
“互联网即资源库”的全新软件复用模式 成长式软件资源管理系统,实现了分散资源的知识融合、资源的可持续增长和有效复用。
部署
Depends Versions
-
Ruby 2.4.5
-
Rails ~> 5.2
-
MySql ~> 5.6
-
Redis 5+
-
imagemagick
Steps
1. 克隆稳定版本
git clone -b standalone https://git.trustie.net/jasder/forgeplus.git
2. 安装依赖包
cd forgeplus && bundle install
3. 配置初始化文件
进入项目根目录执行一下命令:
cp config/configuration.yml.example config/configuration.yml
cp config/database.yml.example config/database.yml
touch config/redis.yml
touch config/elasticsearch.yml
4. 配置数据库
数据库配置信息请查看/config/database.yml文件, 项目默认采用mysql数据库, 如需更改,请自行修改配置信息, 默认配置如下:
default: &default
  adapter: mysql2
  host: 127.0.0.1
  encoding: utf8
  username: root
  password: 123456
5. 配置gitea服务(可选)
如需要部署自己的gitea平台,请参考gitea官方平台:https://docs.gitea.io/zh-cn/install-from-binary/
因目前gitea平台api受限,暂时推荐从forge平台获取gitea部署文件进行部署:https://forgeplus.trustie.net/projects/Trustie/gitea-binary
配置gitea服务步骤
- 部署gitea服务,并注册root账户
- 修改forge平台的 config/configuration.yml中的gitea服务指向地址,如:
gitea:
  access_key_id: 'root'
  access_key_secret: 'password'
  domain: 'http://www.gitea.example.com'
  base_url: '/api/v1'
6. 安装redis环境
请自行搜索各平台如何安装部署redis环境
7. 安装imagemagick插件
- Mac OS X
brew install imagemagick ghostscript
- Linux
sudo apt-get install -y imagemagick
8. 创建数据库
开发环境为development, 生成环境为production
rails db:create RAILS_ENV=development
9. 导入数据表结构
bundle exec rake sync_table_structure:import_csv
10. 执行migrate迁移文件
开发环境为development, 生成环境为production
rails db:migrate RAILS_ENV=development
11. clone前端代码
将前端代码克隆到public/react目录下,目录结构应该是: public/react/build
git clone -b standalone https://git.trustie.net/jasder/build.git
12. 启动redis(此处已mac系统为例)
redis-server&
13. 启动sidekiq
开发环境为development, 生成环境为production
bundle exec sidekiq -C config/sidekiq.yml -e production -d
14. 启动rails服务
rails s
15. 浏览器访问
在浏览器中输入如下地址访问:
http://localhost:3000/
16. 其他说明
通过页面注册都第一个用户为平台管理员用户
页面展示
- 代码库

-
任务管理
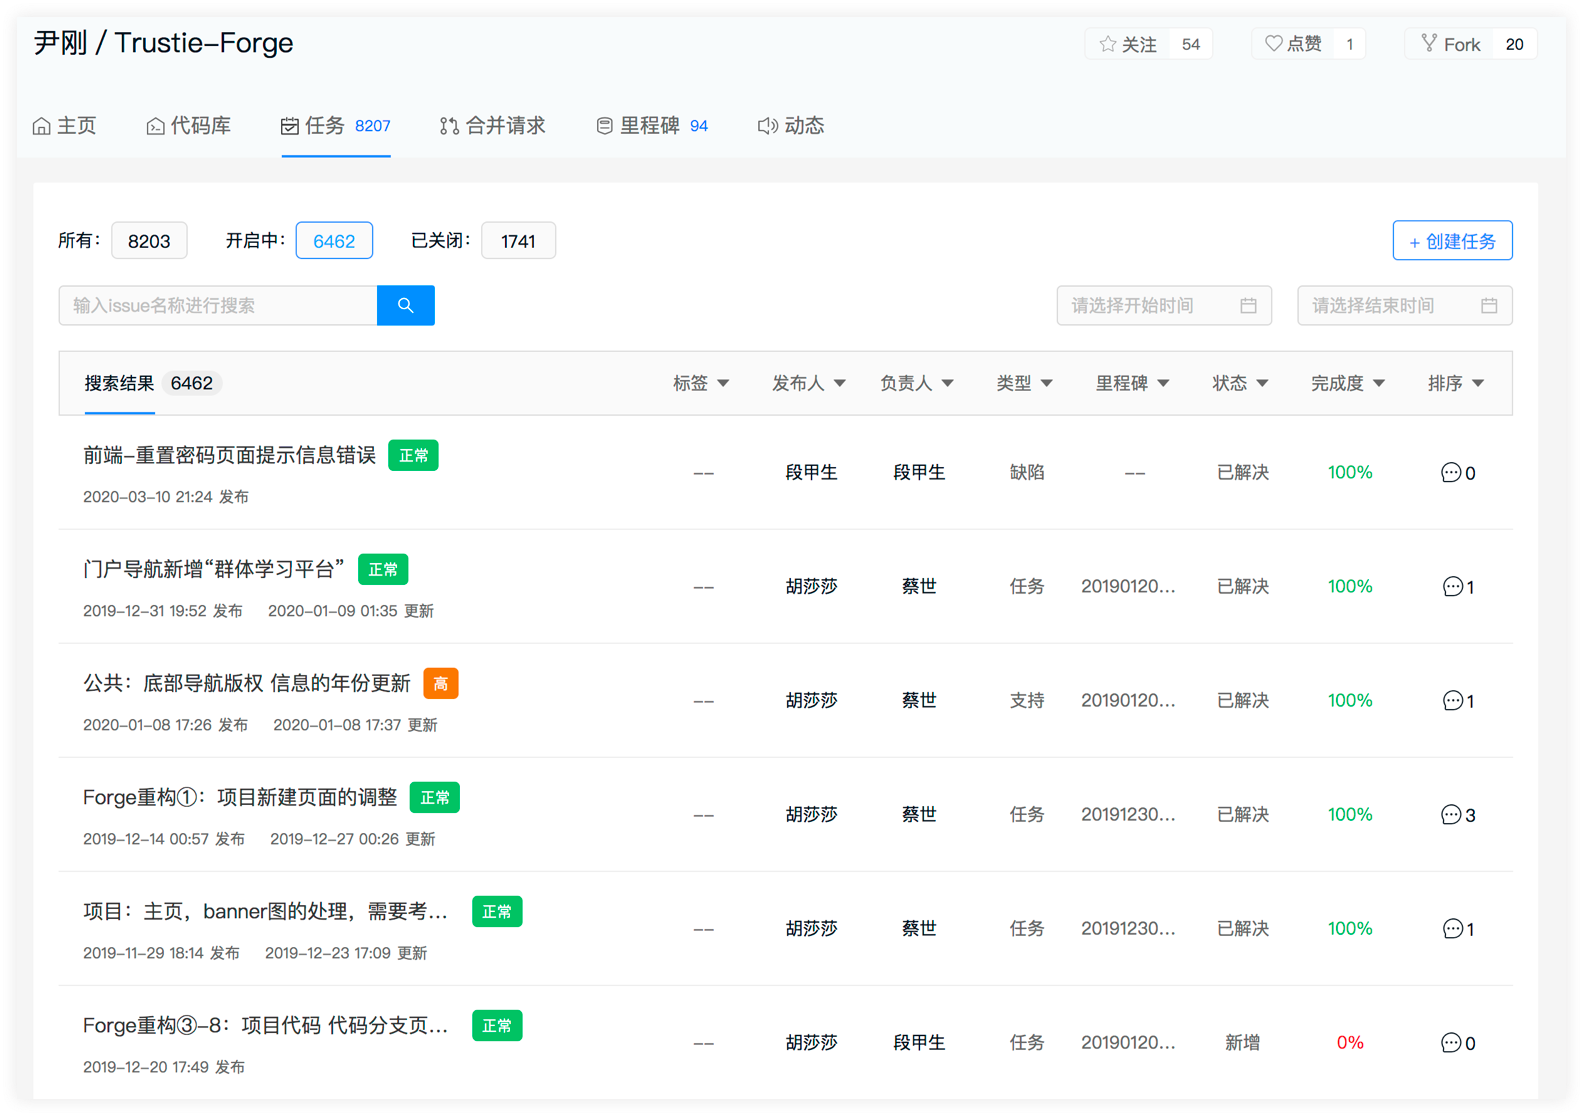
-
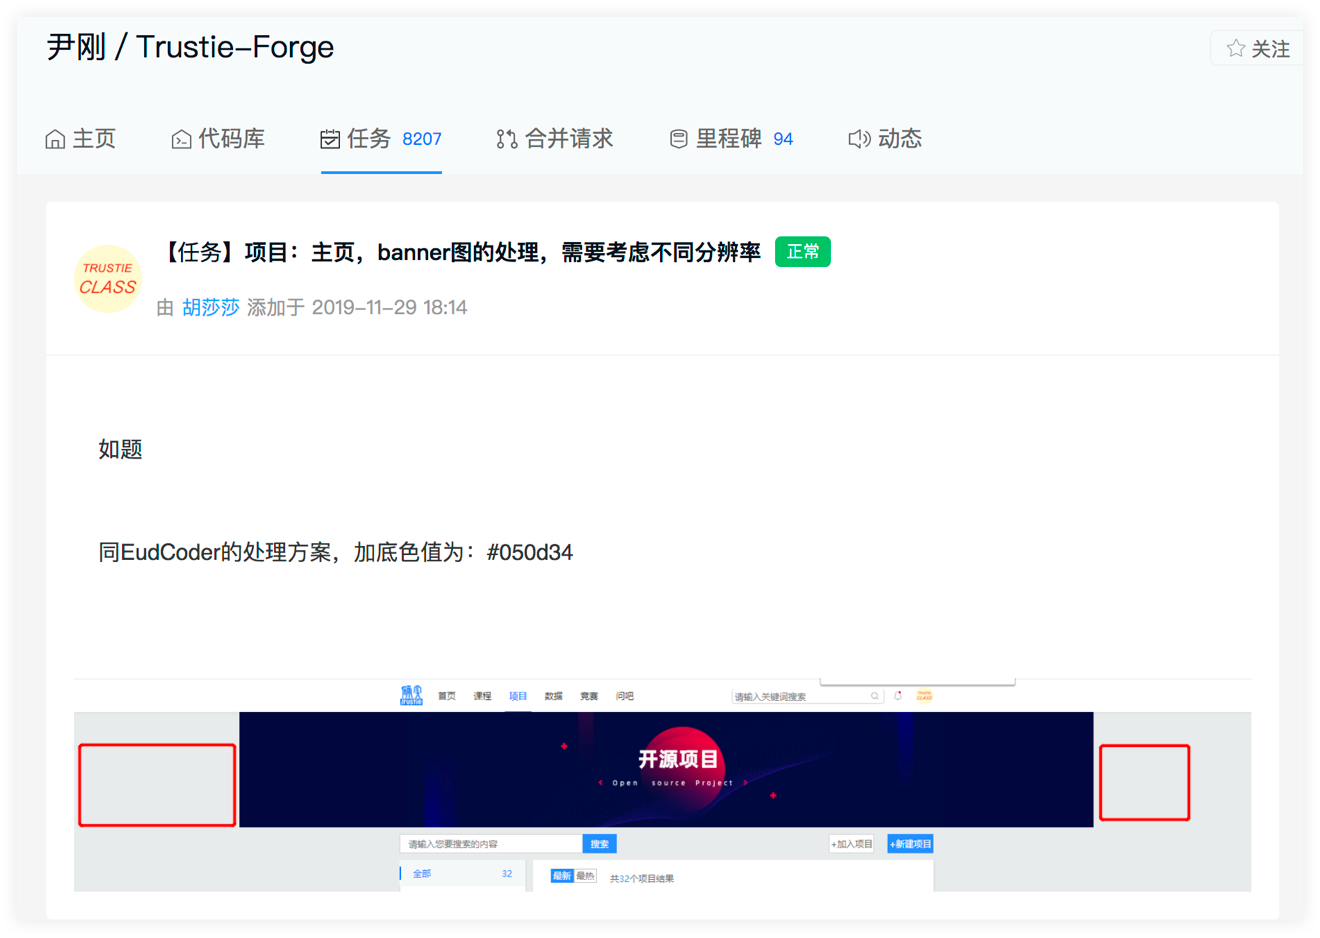
任务查看

- 任务指派

- 里程碑

API
- API文档
- API 账号:forgeplus@admin.com 密码:forge123
贡献代码
- Fork 项目
- 创建本地分支(git checkout -b my-new-feature)
- 提交更改 (git commit -am 'Add some feature')
- 推送到分支 (git push origin my-new-feature)
- 向源项目的 develop 分支发起 Pull Request